Street lights rarely fail without leaving clues. A dark roadway, flickering lamp, or delayed start can signal different faults. The cause may involve the LED module, photocell, driver, wiring, fuse, or control system. Weather often makes diagnosis harder. Moisture can enter a damaged housing, while heat can shorten driver life. In coastal areas, salt corrosion may spread across terminals and mounting hardware.
This guide explains How to troubleshoot common street light problems through practical, safe inspection steps. It focuses on symptoms that maintenance teams regularly encounter, from lights staying on during daylight to repeated circuit trips. Each section connects visible evidence with likely technical causes. For example, a lamp that flickers after rain deserves a closer seal and cable inspection, not an immediate replacement. That assumption can waste time.
Safety remains essential. Qualified personnel should isolate power, verify circuits, and follow approved maintenance procedures before opening equipment. A simple visual check can still reveal loose connectors, cracked lenses, burnt insulation, or blocked ventilation paths. Record the fault location, weather conditions, testing results, and repair date. Patterns often become clear later.
Not every failure has one answer. A new LED fixture may still perform poorly if the supply voltage, controls, or grounding are unsuitable. Some troubleshooting decisions also need revision after field testing. Reliable repairs come from measured evidence, manufacturer guidance, and consistent follow-up. This approach helps municipalities and contractors reduce repeated outages, improve roadway visibility, and protect public infrastructure over time.
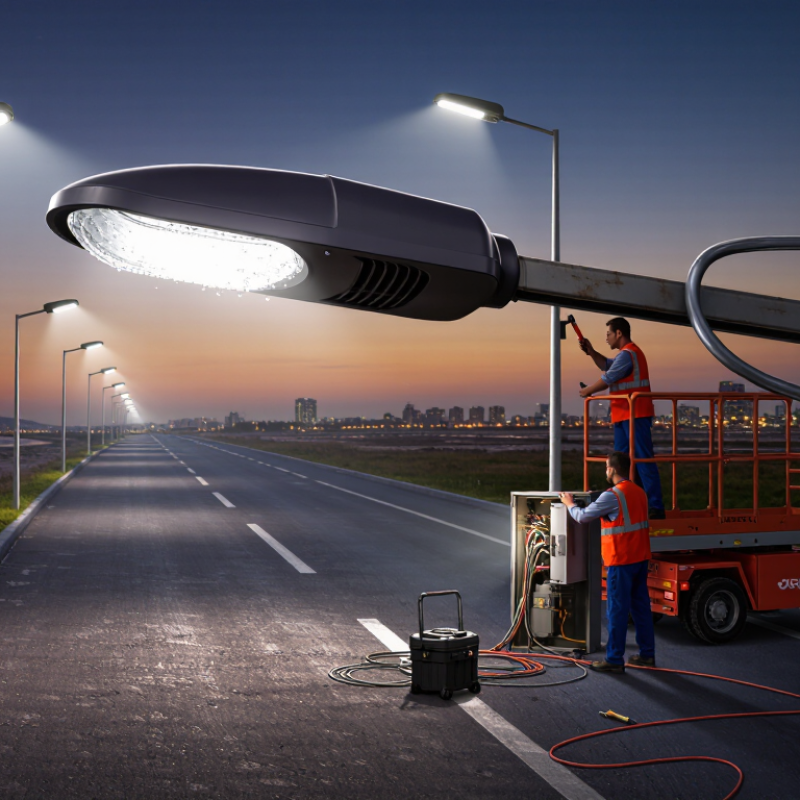
Street light failures usually begin with a component, not the whole fixture. A dark lamp may indicate a failed LED module, driver, fuse, photocell, or loose terminal. Flickering often points to unstable power, moisture, thermal stress, or an aging driver. A dim roadway can reveal lens contamination, optical damage, or voltage drop. The U.S. Department of Energy’s 2023 SSL R&D Plan identifies thermal management and power electronics as major LED reliability factors. In practice, heat leaves clues: browned wiring, cracked seals, and discolored housings deserve attention.
Inspect the system in daylight, then test voltage and continuity with calibrated equipment. Do not replace parts by appearance alone. Compare current draw with the fixture’s rated value. An abnormal reading may expose hidden driver failure. The DOE’s 2020 Energy Savings Forecast reported that LED adoption could reduce lighting electricity use substantially, but poor maintenance weakens those gains. I have seen clean lenses improve visibility, yet cleaning alone cannot repair a failing control circuit. That distinction is easy to miss.
Tips: Check the photocell for dirt, water, and incorrect orientation. Examine surge protection after storms. Record failure dates and weather conditions. Repeated faults may indicate poor grounding or excessive heat. Keep spare fuses, seals, and approved connectors available. Document every measurement. Memory is unreliable.
Check the breaker, supply voltage, cables, socket, and lamp condition. Look for moisture, dark spots, loose connections, or flickering. A warm lamp with no light may have an internal LED failure. Do not replace the lamp immediately. The circuit may be the real problem.
Use a correctly rated meter to measure driver input and output voltage. Compare both readings with the fixture’s service data. Unstable output can cause dimming, cycling, or delayed startup. Heat matters too.
Blocked vents, dust, trapped water, and excessive heat can damage the driver. Inspect the housing for dirt and sealed moisture. A clean exterior does not prove the inside is dry. That assumption can be wrong.
Cover the photocell to simulate darkness. The lamp should respond if wiring and power are correct. If it stays on during daylight, clean the sensor window and test its relay. Replace the control only after checking wiring.
Inspect local power, fuse condition, antenna position, indicator signals, and device settings. Check addresses, time settings, and recent configuration changes. Clock drift after a power interruption can disrupt schedules. The light may work while its timing is wrong.
Record the pole number, fault time, weather, and last successful command. Compare nearby lights and check gateway status and signal strength. One failed pole suggests a local fault. Several failed poles may indicate a wider network problem.
Set warning barriers and consider traffic, wet ground, damaged poles, and exposed wiring. Wear insulated gloves and isolate the power supply. Confirm zero voltage with a tested meter. Never trust a dark lamp.
Check the lens for cracks, water marks, and loose terminals. Inspect connectors for corrosion and moisture. Examine the pole base for rust, impact damage, or unusual movement. Small terminals can be damaged by excessive tightening.
Record the date, voltage readings, temperature, weather, symptoms, and replaced parts. Label repaired circuits clearly. Recheck the fixture after rain when possible. A brief reset is not a complete repair.
This guide explains How to troubleshoot common street light problems by examining each major component and recognizing typical failure symptoms. It covers how to check the power supply, circuit protection, grounding, and wiring for loose connections, voltage loss, or damaged cables. Readers will also learn practical steps for diagnosing lamp, driver, and photocell failures, including flickering, delayed startup, complete outages, and lights that remain on during the day.
The article also introduces methods for investigating smart control and communication issues, such as incorrect settings, signal interruptions, and network connection faults. Alongside troubleshooting techniques, it emphasizes essential safety checks, including isolating power, using suitable testing equipment, and inspecting equipment for physical damage or moisture. Finally, it presents effective repair solutions, from tightening connections and replacing faulty components to resetting control systems and arranging qualified professional service when required.

 Star Lighting